Rather than make my mother try to attach them by hand later, I'm looking at ways to attach them by machine while in production of the pillowcase itself. I decided to center it inside the band. The band is ripped to length, and folded in half on the long edge, in preparation for attaching to the body of the pillowcase. Once that center line is established, I just center the tag on one side of the band and sew down the ends.
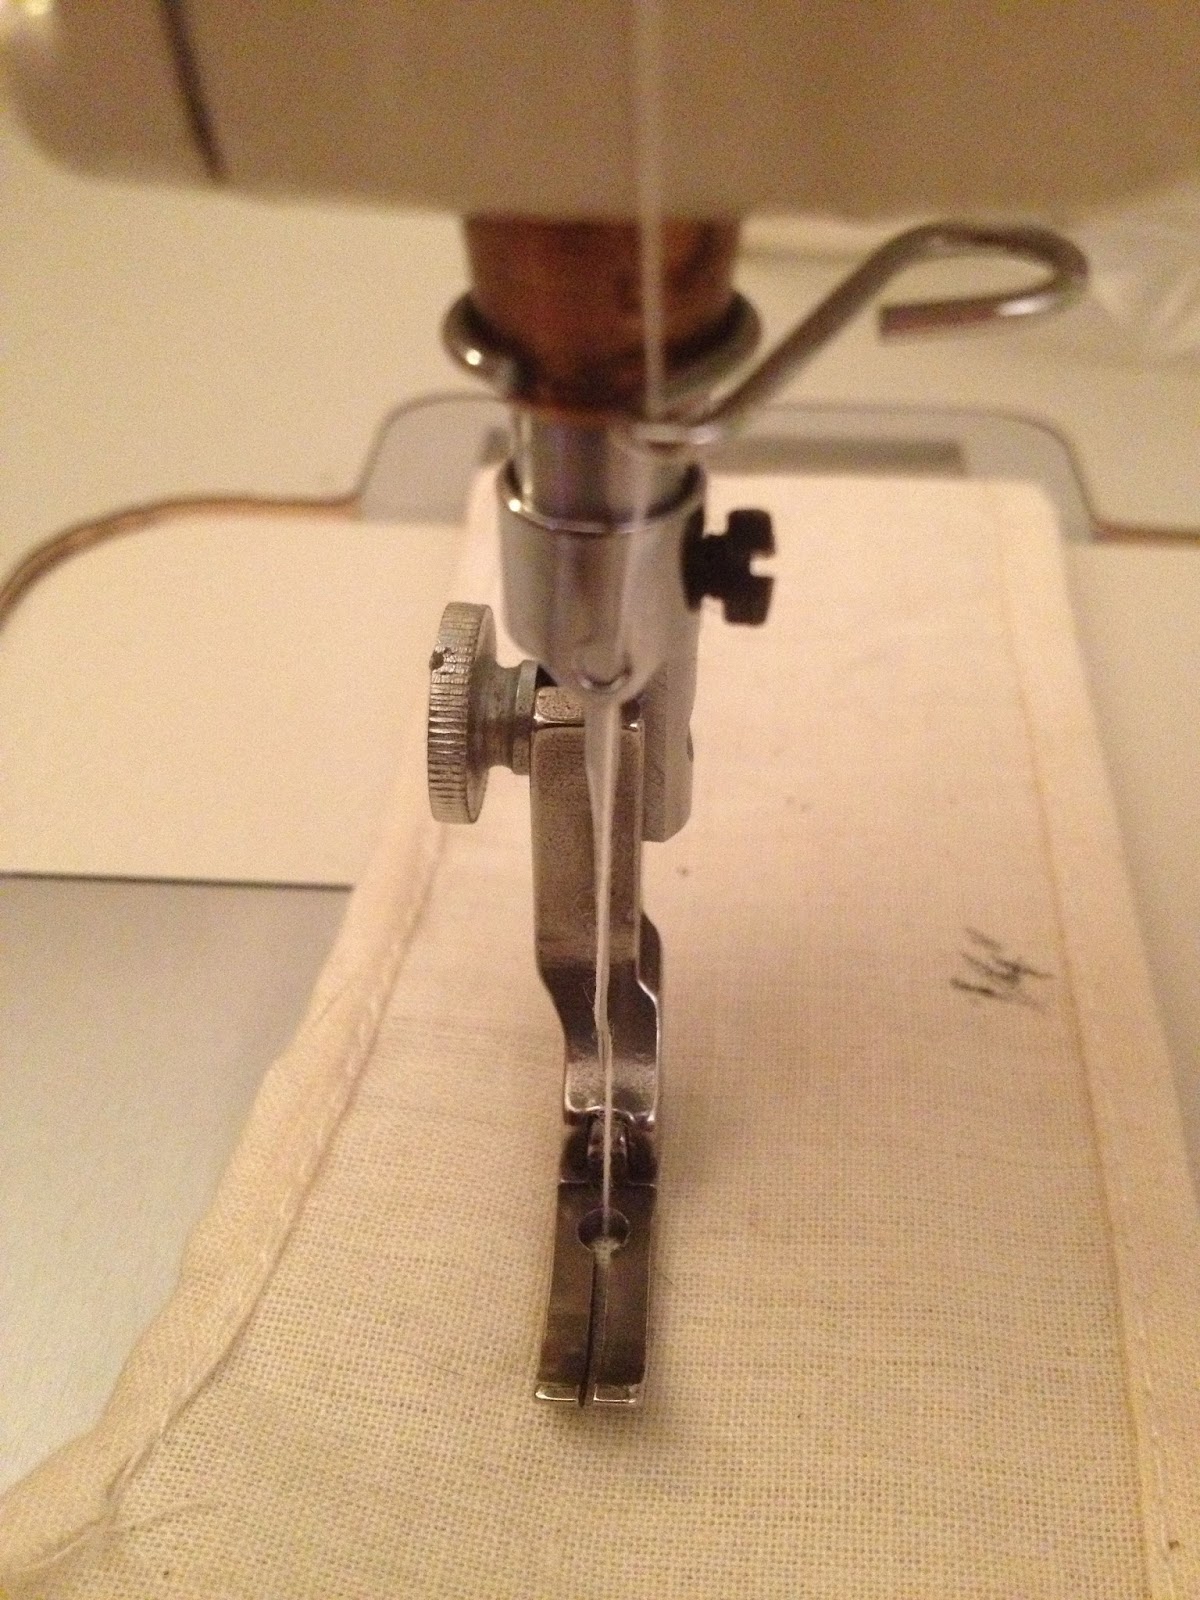
Back to the bag of feet for a narrow presser foot so I can see what I'm saying.
Threads are pulled to the back and tied off and when the pillowcase is finished, it looks like this. I made sure to pay attention to how the band went on to make sure the tag didn't end up on the outside.

I also cut out another pile of pattern pieces for the next Akari test.

Since this was to be a test of the new pattern pieces for the back closure, I ended up doing a test of the test. From my left over pieces of muslin, I ripped up four new pieces, two a little wider than the other two to represent the outer and inner layers planned for this construction. The sections were sewn together at the ends to make two units, and then pinned together with an idea to sew them together along the top edge to connect them.

If these two were the same width, this wouldn't be a big deal, but here one layer is wider, since the center back sections are wider on the outer unit to form the overlap pictured in the manga drawing.
I didn't even sew it, but folded over, you can get an idea how this isn't working.

One of these edges is going to get turned in an unfinished looking ugly way. After thinking through a number of ways of stitching this that didn't work., I came up with the idea below.

In this plan, the center back (CB) sections are finished before the side back/front sections are sewn together along the top edge. This should get the two units connected a good ways around the body, but leave the center back sections separate from each other. That should make the fake closure look that much better, but as always, I'm on standby for this plan to not work exactly as expected.
No comments:
Post a Comment